How to Photograph to Best Market Your Product
Properly portraying your products through clear and professional visuals is an effective way to market your product and highlight its features. However, there is a difference between simply taking a photo and professionally shooting product images. Check out these simple steps to learn how to produce high-quality product images.
Camera and lens:

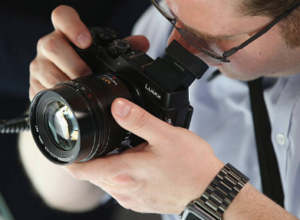
There are two parts that you need to photograph; a camera and a lens. When choosing a camera to photograph your products with, you want to make sure you select a camera with high megapixels (measures resolution) to get a high quality, sharp image. To extend this precision, a good lens is also necessary to give you a rage of depth when capturing a picture of your product. When photographing small items closely, a prime lens is recommended. A prime lens has a single fixed focal length (eg. 50mm or 35mm) and has the aperture (amount of light the lens lets in) appropriate for the desire of a clear product picture.
Lights:
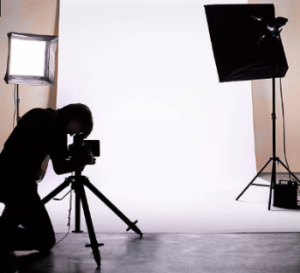
Good lighting is essential regardless of  what you are photographing, but especially when shooting detailed objects. Of course, natural light provides a good source that can produce great results, but the sun is unreliable. Purchasing a studio lighting kit will be useful and make a noticeable difference every time. This will ensure the details of the product are visible and featured clearly in every image.
Tripod:

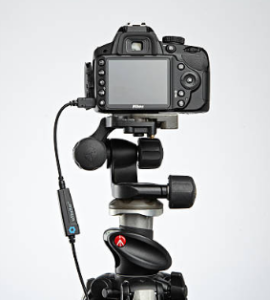
A tripod is often thought of as unnecessary piece of equipment, however, a tripod is reliable in making sure a clear photo comes through every time, especially with detailed products. I might say this for every camera accessory, but it’s most true for the tripod. Holding your camera by hand will produce blurry images that people will notice, and dislike. The quality of the photo depicts how the customer perceives the product itself. If you are trying to sell this product, you obviously want your customers initial thought of it to be a positive one.
Photo set-up:
Shooting products is most effective  in front of a continuous background that is typically white or neutral grey. It’s a simple and professional look that is fortunately simple to achieve. All you need is a few rolls of craft paper and something to attach it to a table, such as clamps. Rolling the paper down the side of a table and attaching will give you a long, smooth ramp perfect for any product background. This is an easy step but one that needs to be done right.
If there is a rip or crinkle in the paper, it is worth doing it over to produce a continuous background that will not draw attention away from your product. Place your product on the craft paper just after it comes into contact with the table. For even better results, place your setup near a big, sunny window if you want natural light, or in a dark room if you want to use your photo lights.
Clean Up:

Nothing looks better than a clean product. A big fingerprint on the product or dust on your lens produce poor results. Buy some microfiber rags and wipe everything down carefully before shooting the products.
Photograph:
Take a lot of pictures! It’s always better to have too many then not enough, especially when it comes to marketing your products! When shooting, photograph your product with different shadows, angles, and positions so you have a range of options when selecting your photos later on. You won’t know what looks best until you have your options side by side. This will give you a clear vision of what pictures to choose to best market your products!


Leave a Comment
You must be logged in to post a comment.